Thumbstick Setup Guide
Follow these simple steps to setup your PuK Thumbstick
Step 1 of 8
12% Complete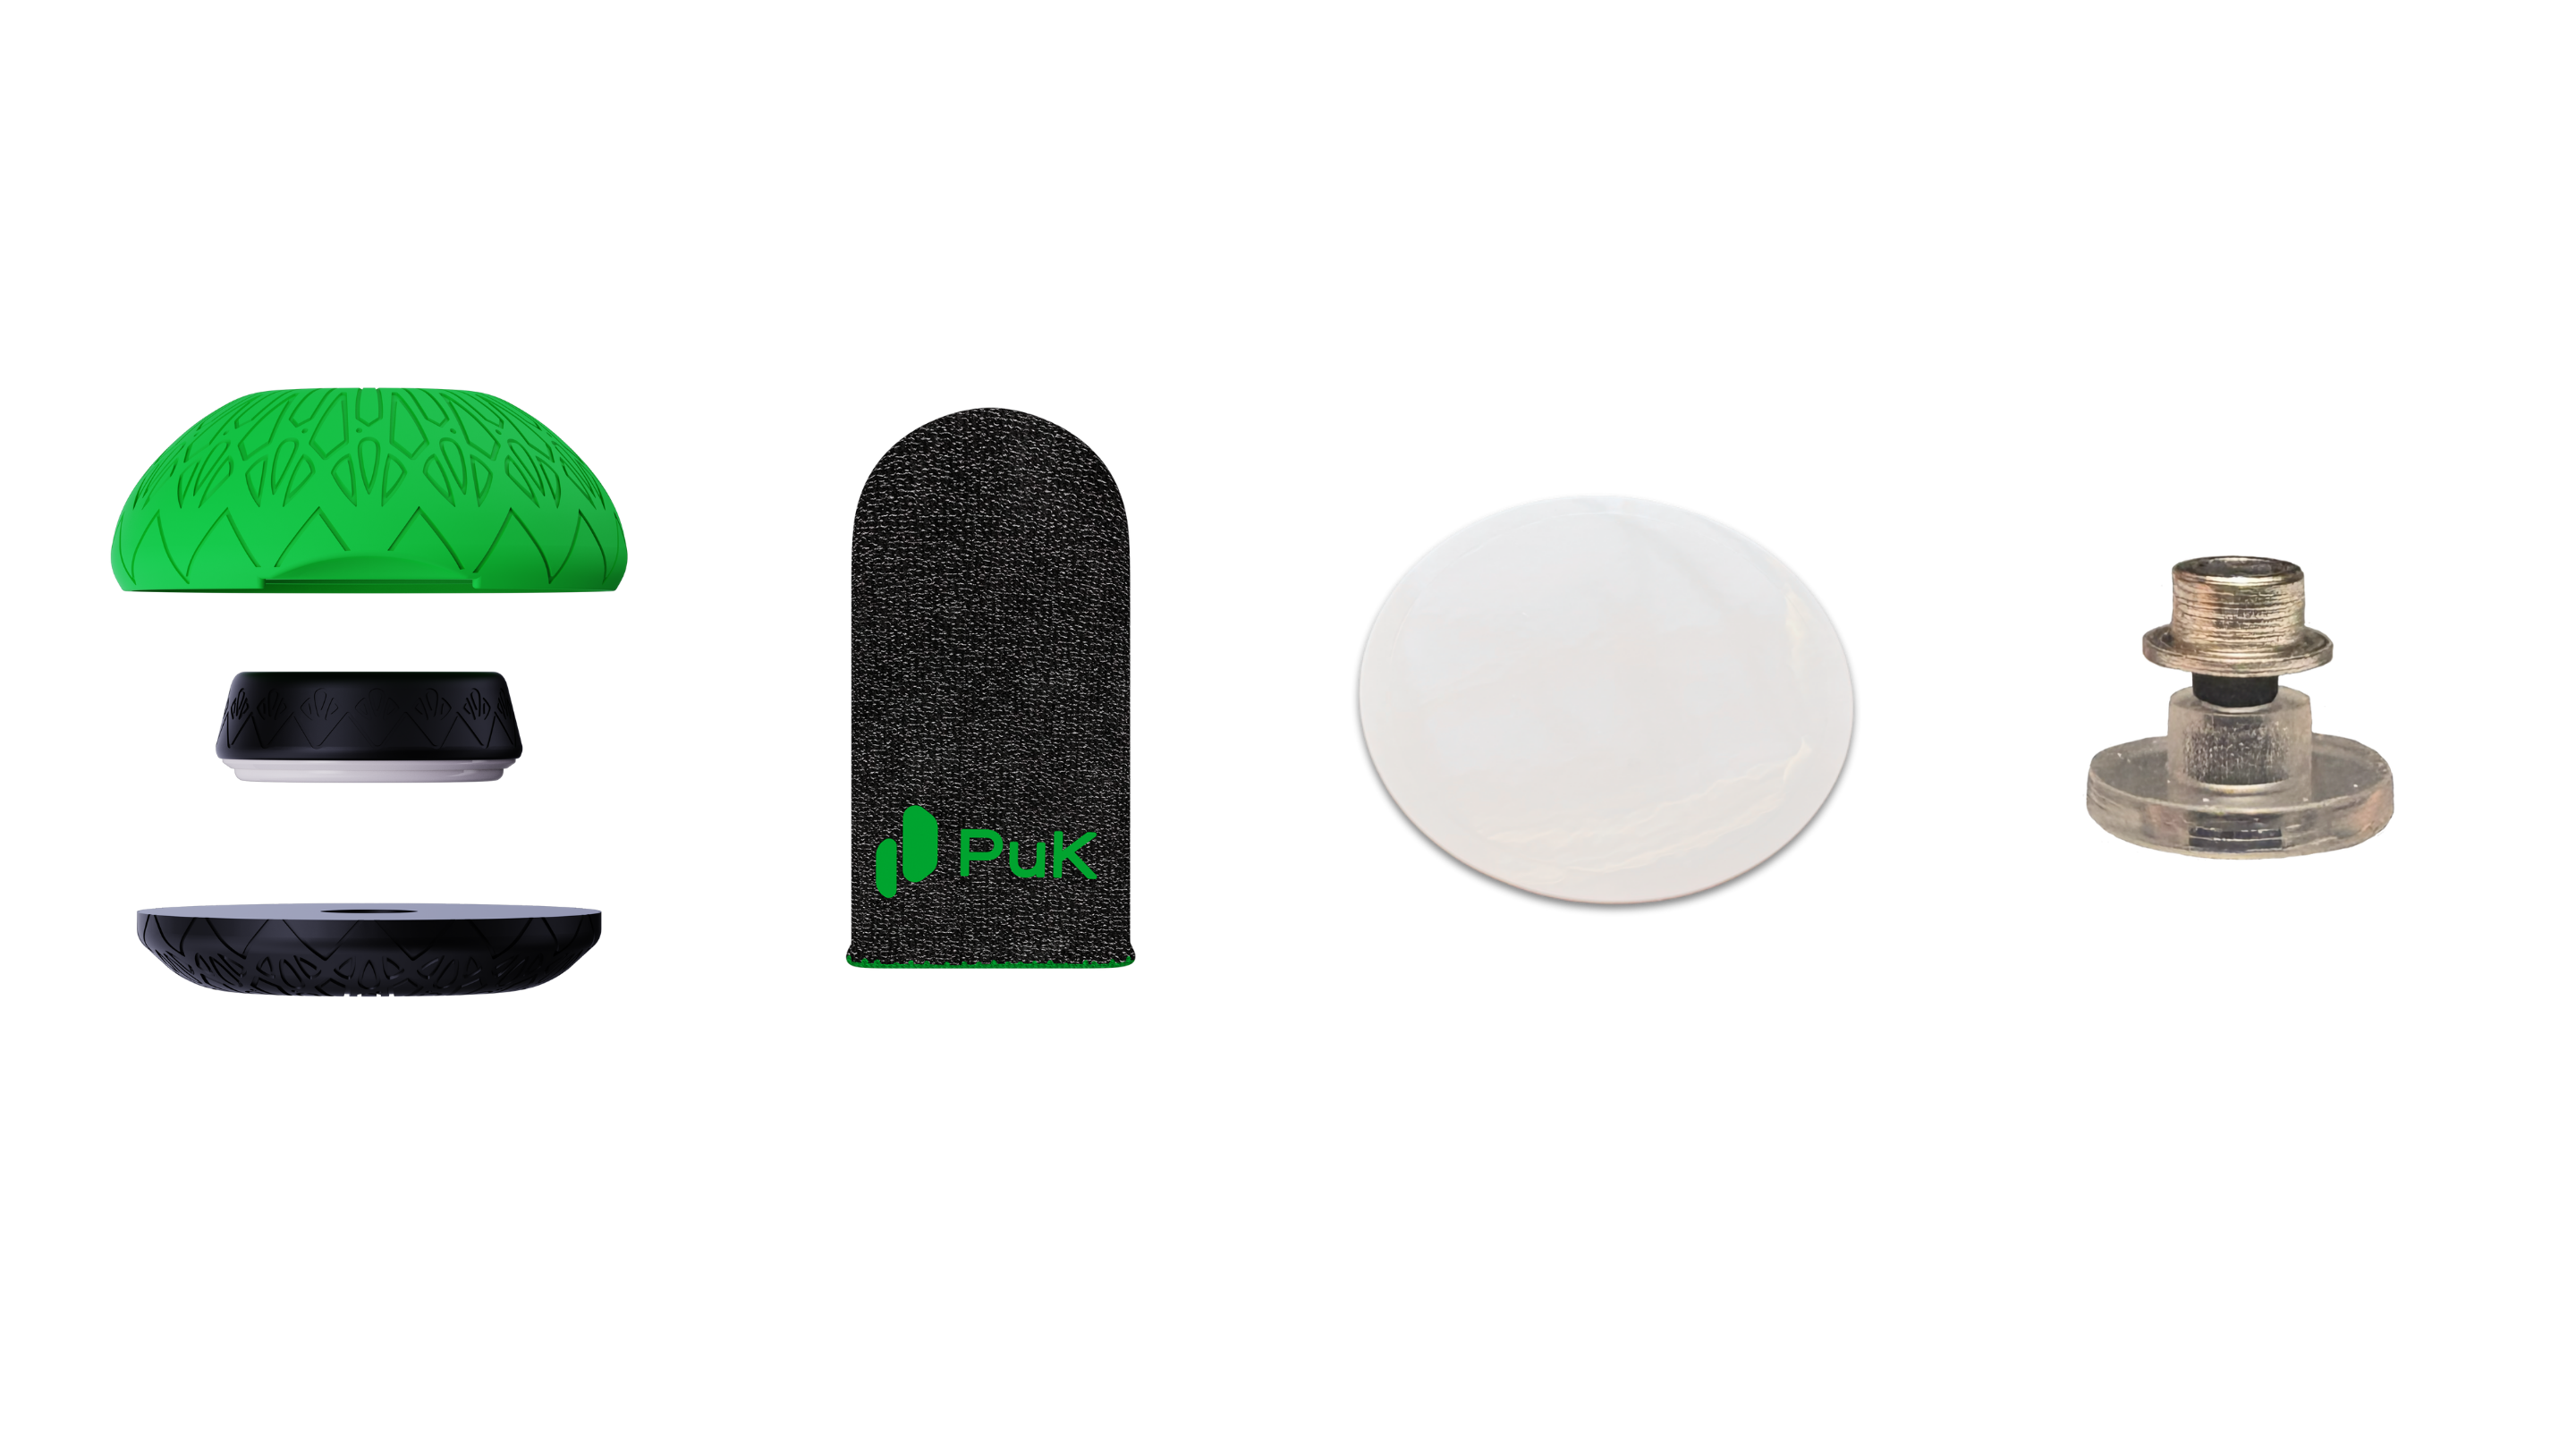
Separate your Thumbstick components
Instructions
You'll have 4 components:
- The Thumbstick (Lid and Anchor)
- Thumbsleeve
- Sticky Disk (For your Anchor)
- Additional Stylus

Clean the front and back of your device or case
Pro Tips
Use a micro-fibre cloth for best results
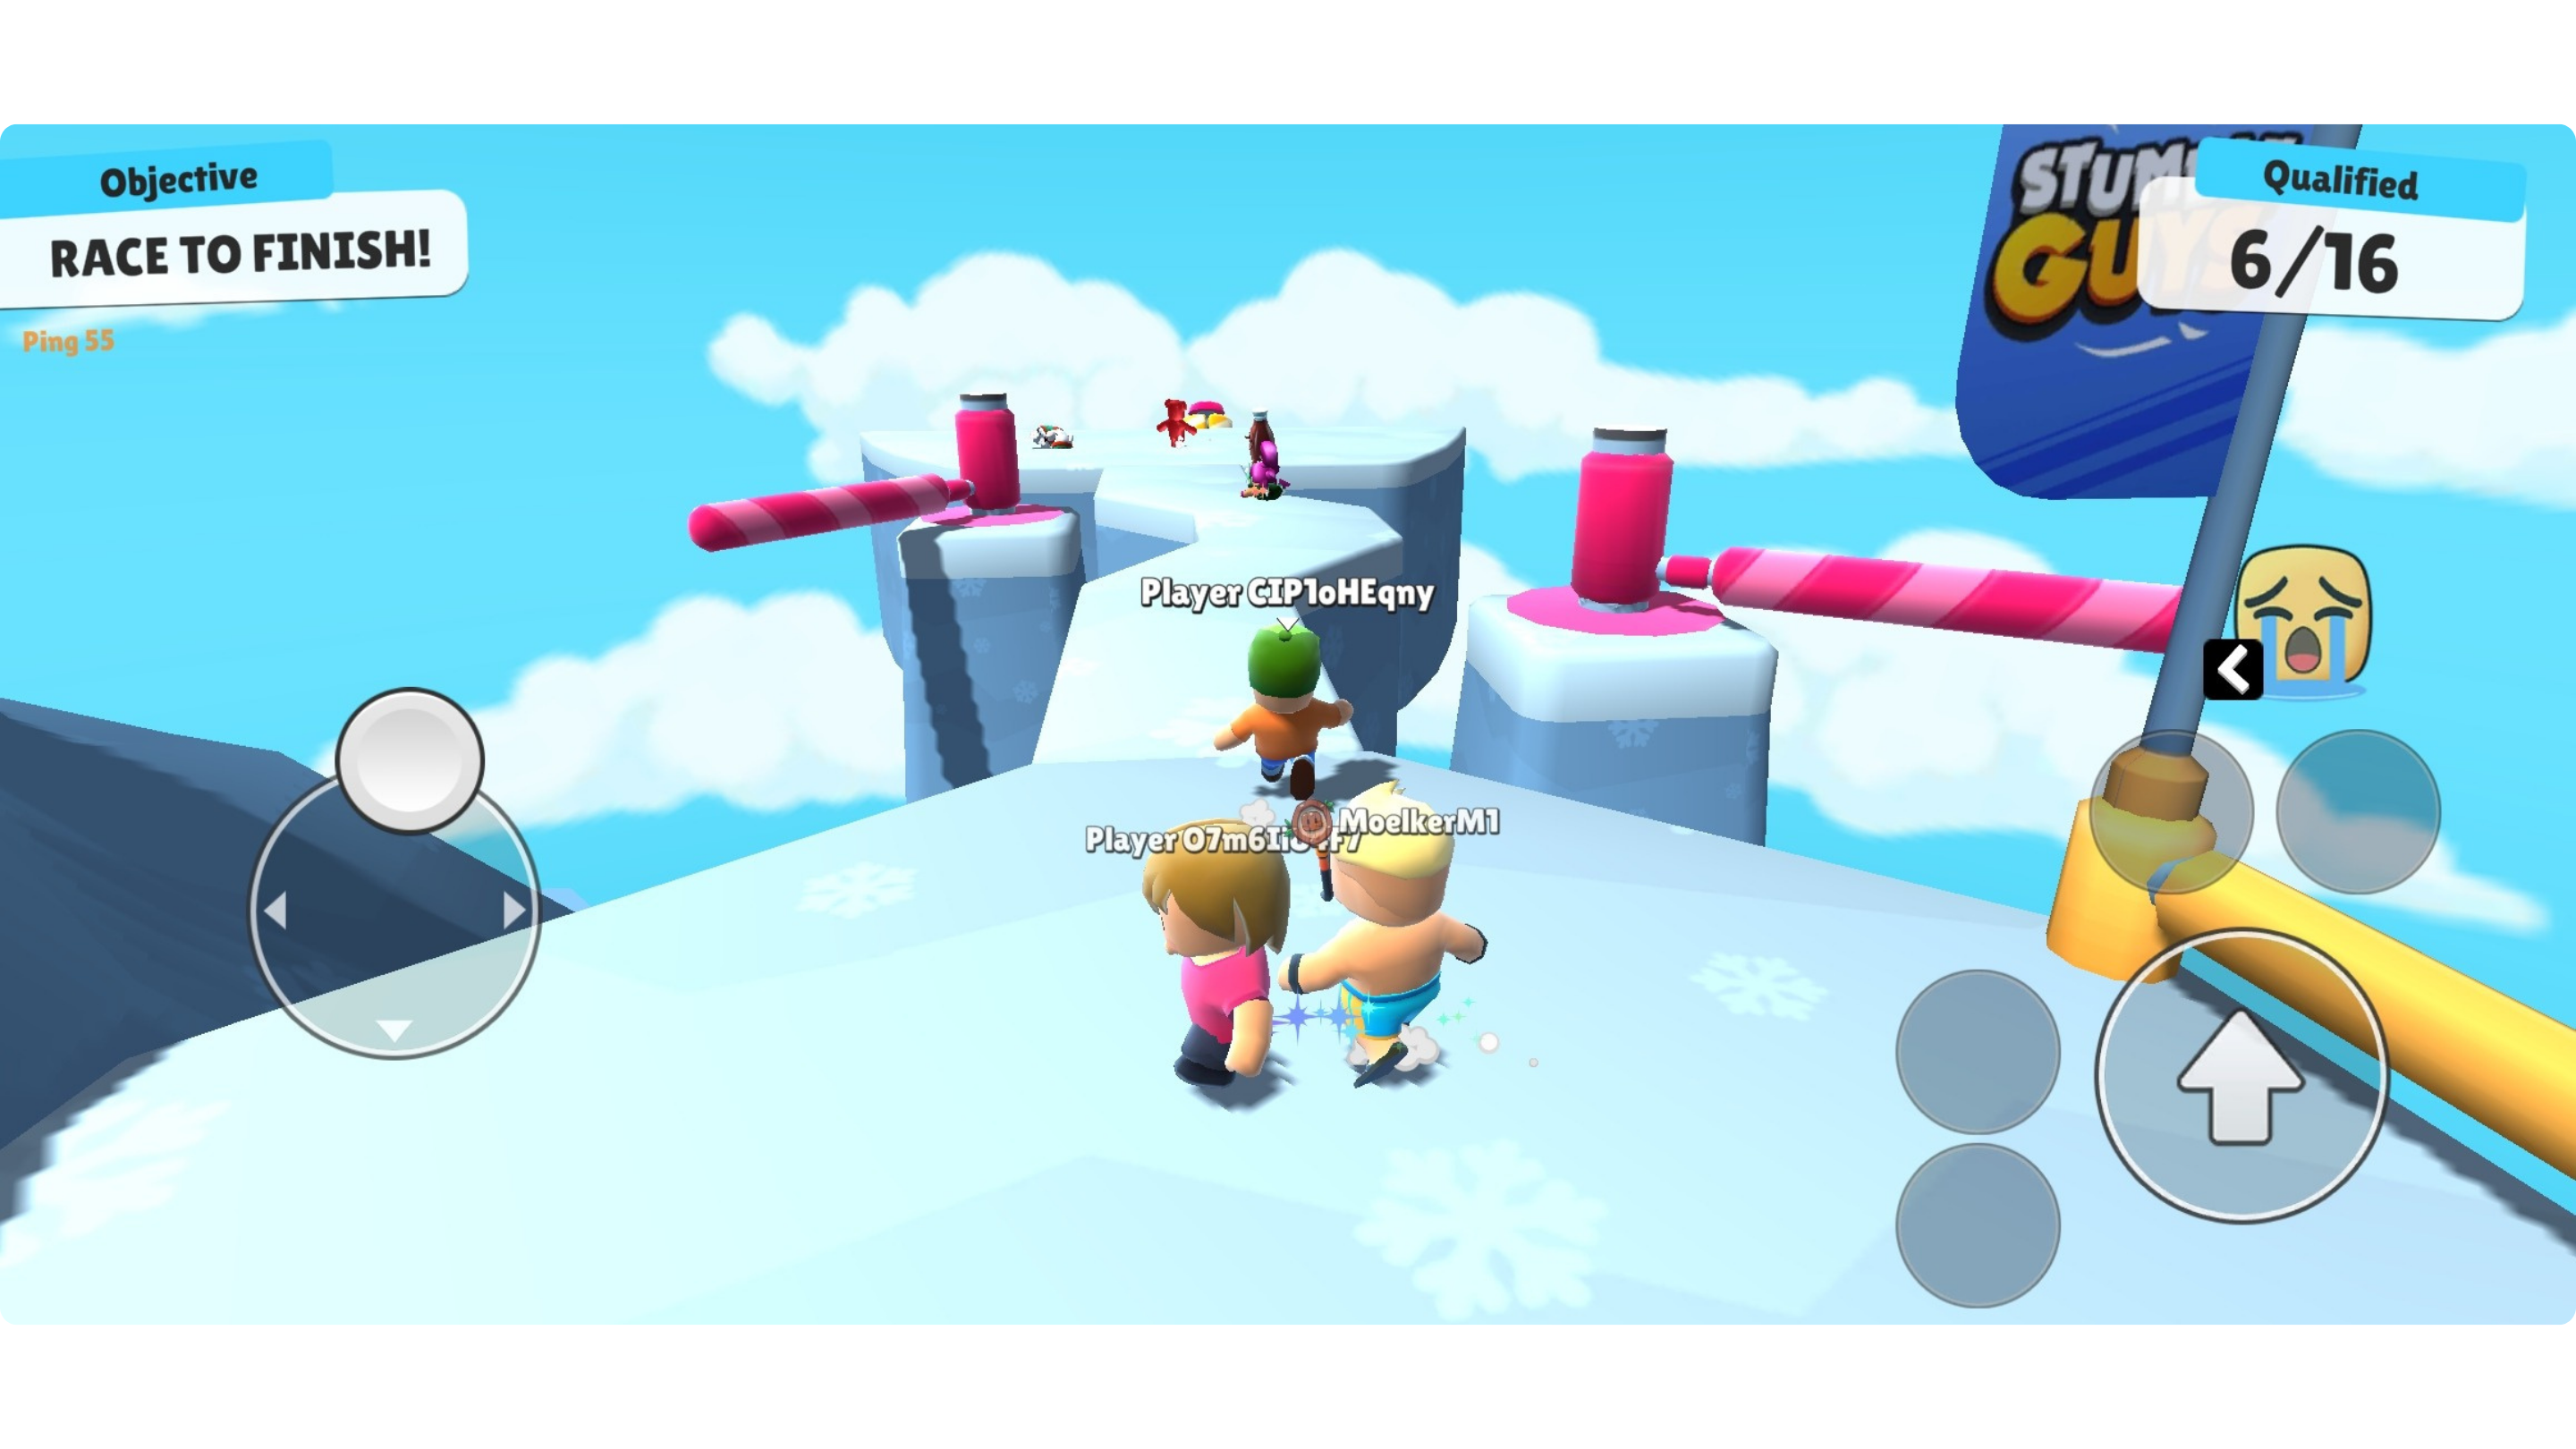
Load up your game
Identify your on-screen virtual joystick
Pro Tips
Each game has slightly different looking on-screen controls but you'll always find them on the left of the screen.

Sticky Disk Placement
You might not need this step. It helps keep your Anchor secure on with more slippery surfaces
Instructions
Peel and place your Anchor sticky disk on the rear of your phone, behind your Virtual Joystick.
Pro Tips
If you are using the PuK Grips you can skip this step.

Anchor Placement
Place your anchor on the rear of your phone, over the Anchor sticky disk.

Thumbstick Placement
Place your Thumbstick on Top
Pro Tips
You'll feel the Thumbstick snap-on and self-center to your display

Thumbsleeve
Don't forget your included Thumbsleeve for your right thumb.

Calibrate your display
For reliable touch performance when using PuK products, we recommend that you do this once before each session to allow your display to set it's capacitive baseline with PuK products installed.
Most of the time it won't be necessary and you might only need to follow this process if touch issues occur.
Instructions
- Attach all touch-interface devices (Triggers and PuK Thumbstick)
- Load your game of choice
- Tap the power button to put the display to sleep (it’s ok if you need to shift a trigger sideways to gain access to the device power button)
- Wait 10 seconds
- Press the power button again to wake the phone and unlock the device if necessary